Search Knowledge Base by Keyword
This page provides information on getting started with Zoom in Edspora for teachers and course creators. Zoom is a tool for hosting video conferencing, screen sharing, group messaging, and collaboration. You can now use this tool in EDSPORA.
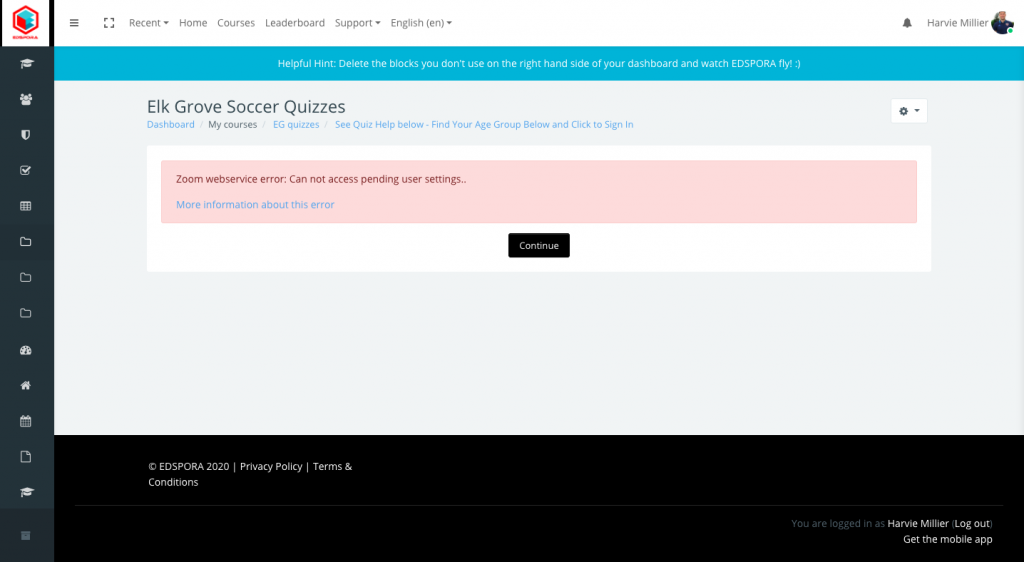
Important Notes to add: Before you begin, you must activate your EDSPORA Zoom account by emailing admin@edspora.com. Please include your username.
Once your edspora zoom account has been setup, your basic license will allow you to use Zoom for 40 minutes per Zoom session and you can only run one Zoom session at a time. If you need more than a 40 minute zoom conference, please put this in the email. There is an additional cost of $14.99 per month to upgrade you to a “licensed” edspora Zoom user.
Prior to sending the email, you will see this error notification.
Create and Configure the Zoom Activity
Once you have activated your Zoom account, you can add the Zoom video conferencing activity to your course page.
Schedule and Manage Zoom Meetings in Edspora (please note the username that creates the zoom activity within the course is designated as the “zoom host” – this person needs to begin the zoom call)
To schedule a single meeting:
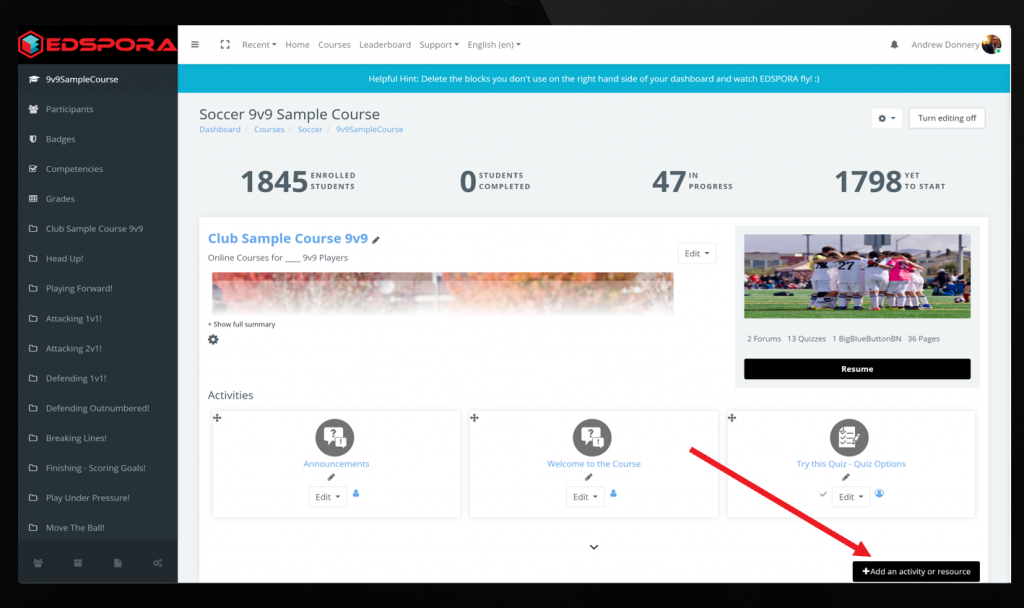
- On your course page, click Turn editing on (pencil icon , top right). Editing links will appear on the page.

In the section that you want the activity to appear, click +Add an activity . The Activity chooser will open.
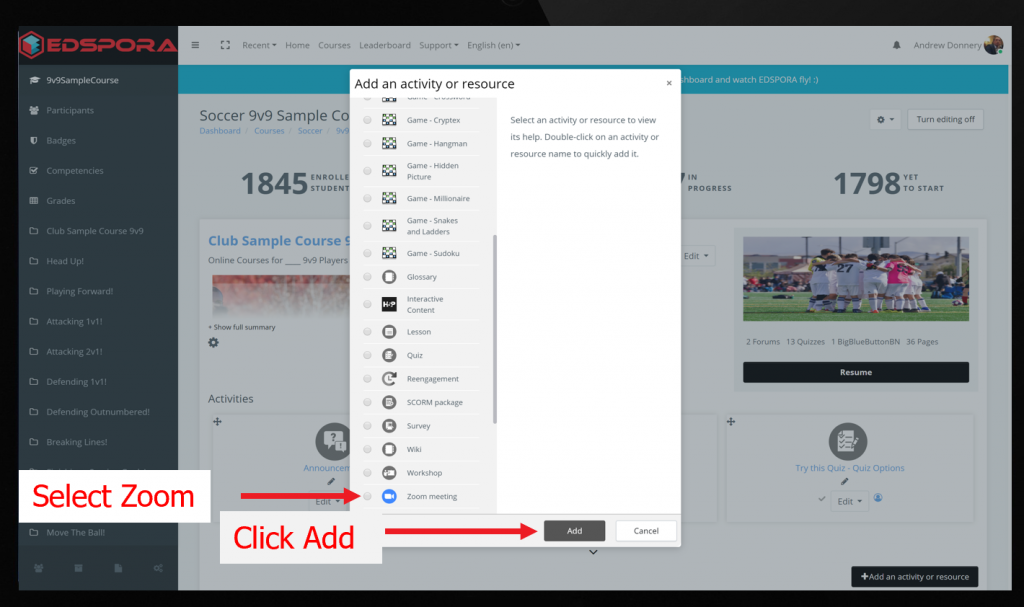
In the Activity chooser, select Zoom, then scroll down and click Add.
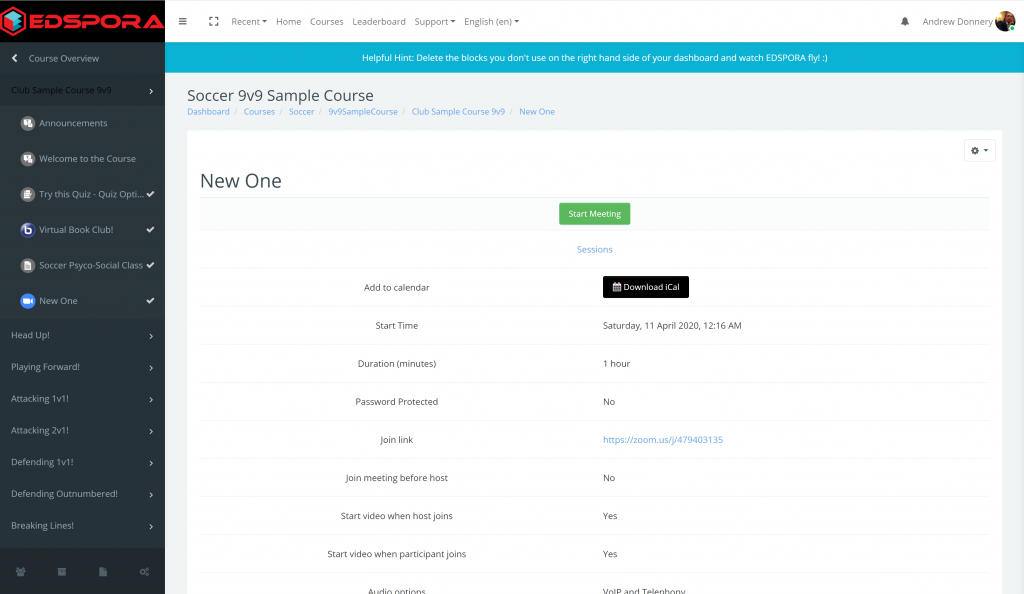
- From the Meeting interface, for Topic, enter the name you want to have. By default, the topic name will be your course name.
- For When, enter the date, time, and duration of the meeting.
- For Registration, select Required only if you would like to require registration for joining the meeting. This will create a Registration URL that you will need to send to participants of the meeting to enable them to register. The link will appear once you have saved your meeting.
- For Meeting Options, select each option that applies to you:
- Require meeting password: Requires participants to enter a password you set up to join. If you select this, a textbox will be displayed. Enter your chosen password in this textbox.
- Enable join before host: Allows attendees to enter the meeting before the host joins.
- Mute participants upon entry: Mutes all participants upon joining the meeting. You can unmute during the meeting.
- Use Personal Meeding: Uses your Personal Meeting Room instead of generating a new meeting ID.
- Enable waiting room: Allows the host to manually admit participants individually or as a group.
- Record the meeting automatically: Allows you to record the Zoom meeting and save it to your personal computer or to the Zoom Cloud.
- Click Save. The page will refresh and display your new scheduled meeting. To return to the Zoom activity page with a list of all your Zoom meetings, click Course Meetings (top left below ZOOM, blue text), or, if you want to start the meeting select Start this Meeting (blue button, bottom right)
To schedule a recurring meeting:
- On your course page, click Turn editing on (pencil icon , top right). Editing links will appear on the page.
- In the section that you want the activity to appear, click +Add an activity . The Activity chooser will open.
- In the Activity chooser, select Zoom, then scroll down and click Add.
- From the Meeting interface, for Topic, enter the name you want to have. By default, the topic name will be your course name.
- For When, enter the date, time, and duration of your first meeting in the series. Choose the Recurrence, Repetition frequency, and End date.
- For Registration, select Required only if you would like to require registration for joining the meeting. This will create a Registration URL that you will need to send to participants of the meeting to enable them to register. The link will appear once you have saved your meeting.
- Select Recurring meeting. The Recurring meeting menu will apear.
- For Reccurence options, use the drop down menus to schedule how often the meeting will occur, and the end date of the series.
- For Meeting Options, select each option that applies to you:
- Require meeting password: Requires participants to enter a password you set up to join. If you select this, a textbox will be displayed. Enter your chosen password in this textbox.
- Enable join before host: Allows attendees to enter the meeting before the host joins.
- Mute participants upon entry: Mutes all participants upon joining the meeting. You can unmute participants during the meeting.
- Use Personal Meeting: Uses your Personal Meeting Room instead of generating a new meeting ID.
- Enable waiting room: Allows the host to manually admit participants individually or as a group.
- Record the meeting automatically: Allows you to record the Zoom meeting and save it to your personal computer or to the Zoom Cloud.
- Click Save. The page will refresh and display your new scheduled meetings.
To edit a scheduled meeting:
- From the Zoom activity page, At the top right of the page, select Edit this meeting. The Edit page will open.
- Once you have made your changes, at the bottom of the page click Save.
Note: If you are making changes to a meeting that is part of a series, any changes will be applied to all meetings in the series. If you need to edit only one meeting in a series, it is best to delete that occurrence from the series and schedule a new meeting for the new time/date.
To delete a scheduled meeting:
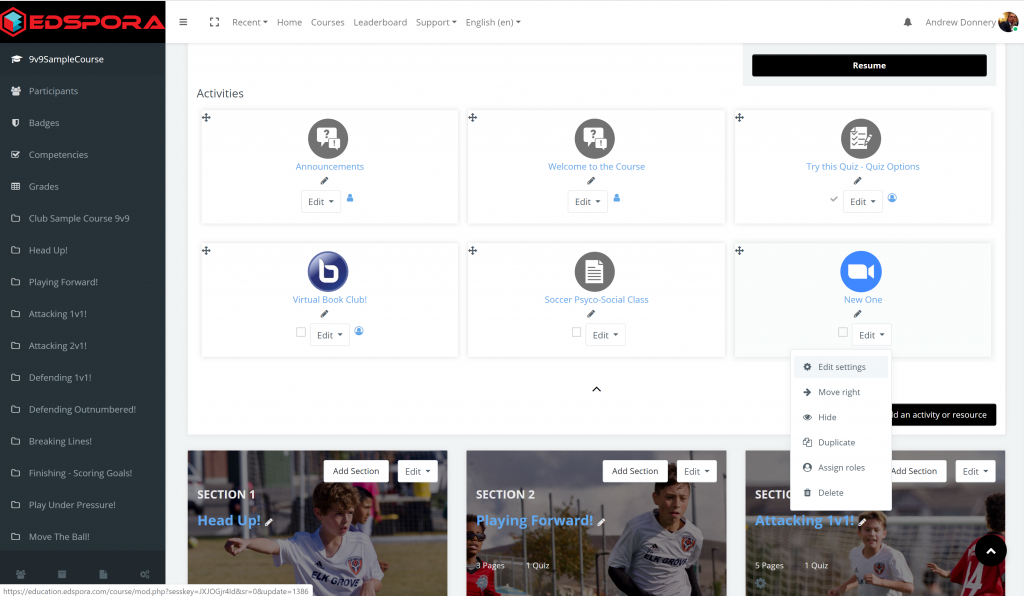
- On your course page, click the Zoom activity link you created.
- On the Zoom activity, select edit and then , click delete.
Start or join a Zoom meeting in Moodle
You can use Zoom in Moodle to begin a meeting you have scheduled for the course, or open your Personal Meeting Room to host impromptu meetings with students. Students will be able to use the interface to join a Zoom meeting.
To start a Zoom meeting:
- On your course page, click the Zoom activity link you created.
- On the Zoom activity page, on the Upcoming Meetings tab, for the upcoming meeting, click Start. The Zoom meeting launcher page will open.
- If you have installed the Zoom desktop application, the Open zoom.us window will open. Click to open zoom.us to begin using the app.
Note: If you have not yet installed the Zoom desktop application on your device, you will be prompted to open or save the installation file and follow installation instructions. Once you have downloaded Zoom. - If you want to use your browser to host the meeting, click the start from your browser link.
- If you have installed the Zoom desktop application, the Open zoom.us window will open. Click to open zoom.us to begin using the app.
- Your meeting will begin. Select Join with Computer Audio to join the meeting. For more information on running a Zoom meeting, please see the Zoom Help Center.
- When you are finished, click End meeting. If you record your meeting, you will receive a notification based on how you chose to save it.
Viewing and Sharing Zoom Cloud Recordings
If you have recorded your Zoom meetings using the cloud or computer option, you will be able to access those recordings from Edspora. You can access the meetings as video, audio, and/or chat text.
To view previous meeting recordings in Edspora (may not be enabled for your course – check with admin):
- On your course page, click the Zoom activity link you created. The Zoom activity will open.
- On the Zoom activity page, on the Cloud Recordings tab, click the name of the meeting you want to view. The Recording Details page will open.
- To download a file, click Download. The download will begin.
- To get a link to share the recording, click Share. The Share this cloud recording window will open. Click Copy to copy the link text to your clipboard. You can share this link via Edspora or email with students.
How to View and Export Attendance Report in Zoom
Zoom records the attendance of your participants. You can use this to keep track of attendance, assign a grade, or reach out to students who are not engaged.